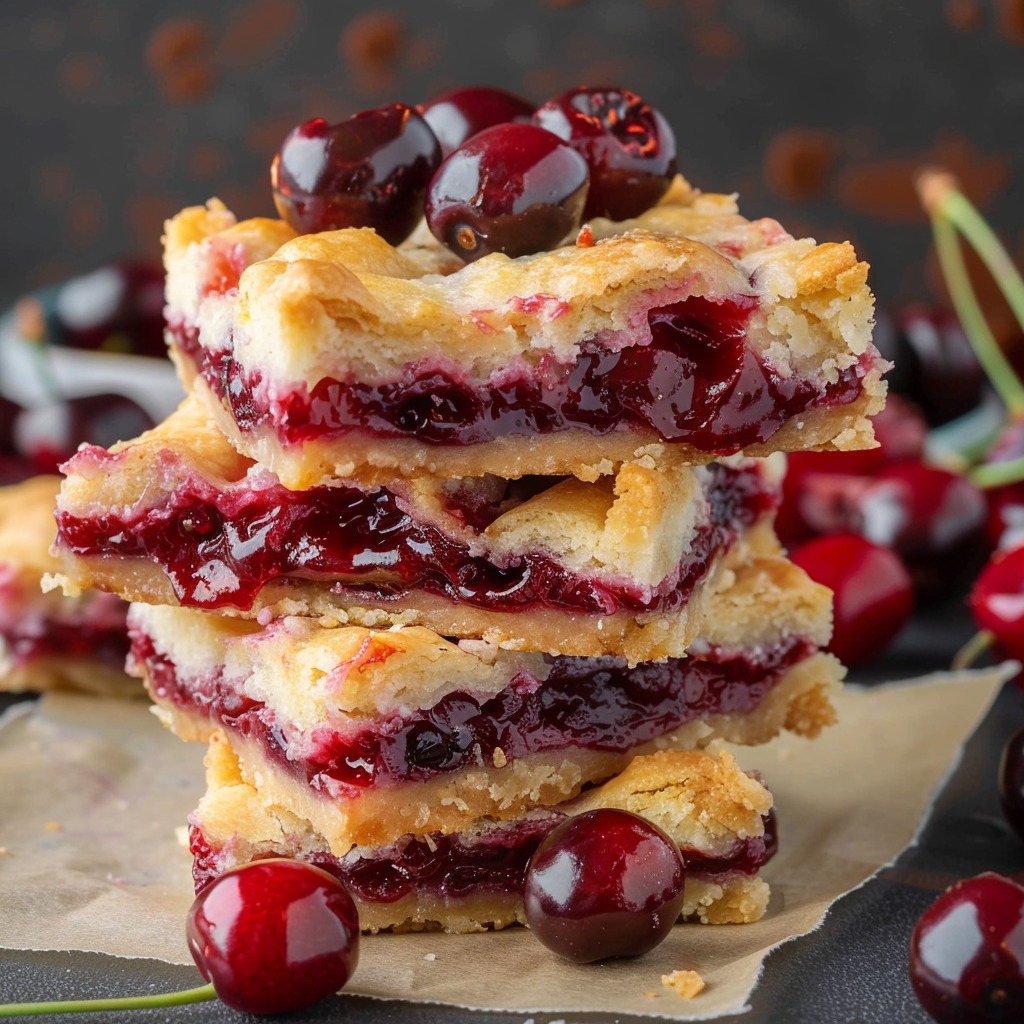
Homemade Cherry Pie Bars: A Quick and Delicious Dessert
Craving the taste of cherry pie but don’t have time to make a full one? These homemade cherry pie bars are the perfect solution! With a buttery crust, juicy cherry filling, and crumbly topping, they’re simple to make and even easier to enjoy. Perfect for gatherings, picnics, or just as a sweet treat at home.
Ingredients
For the Crust and Crumble Topping:
- 2 cups (250g) all-purpose flour
- ½ cup (100g) granulated sugar
- ½ teaspoon salt
- 1 cup (225g) unsalted butter, cold and cubed
For the Cherry Filling:
- 2½ cups (350g) fresh or frozen cherries, pitted
- ½ cup (100g) granulated sugar
- 1 tablespoon cornstarch
- 1 tablespoon lemon juice
- ½ teaspoon vanilla extract or almond extract (optional)

Instructions
Step 1: Preheat the Oven
Preheat your oven to 350°F (175°C). Line an 8×8-inch or 9×9-inch baking pan with parchment paper, leaving an overhang for easy removal.
Step 2: Prepare the Crust and Topping
In a large mixing bowl, whisk together the flour, sugar, and salt. Add the cold, cubed butter and use a pastry cutter or your hands to mix until the texture resembles coarse crumbs. Set aside ¼ of the mixture for the crumble topping.
Step 3: Bake the Base
Press the remaining crust mixture evenly into the bottom of the prepared pan. Bake for 10-12 minutes, or until the edges are lightly golden. Let it cool slightly while you prepare the filling.
Step 4: Make the Cherry Filling
In a medium saucepan, combine the cherries, sugar, cornstarch, and lemon juice. Cook over medium heat, stirring constantly, until the mixture thickens and becomes glossy (about 5 minutes). Remove from heat and stir in the vanilla or almond extract, if using.
Step 5: Assemble the Bars
Pour the cherry filling over the pre-baked crust, spreading it evenly. Sprinkle the reserved crumble mixture over the top for a crumbly finish.
Step 6: Bake to Perfection
Bake for 30-35 minutes, or until the topping is golden brown. Let the bars cool completely in the pan before slicing into squares.
Tips for Success
- Chill the Crust Mixture: If your kitchen is warm, chill the crust mixture in the fridge for 10-15 minutes before pressing it into the pan.
- Use Ripe Cherries: Fresh cherries provide the best flavor, but frozen cherries work well too—just be sure to thaw and drain them.
- Optional Glaze: Drizzle the cooled bars with a glaze made from powdered sugar and milk for added sweetness.
Why You’ll Love This Recipe
- Simpler Than Pie: All the flavor of cherry pie without the fuss of rolling dough.
- Perfectly Balanced: Sweet cherries and a buttery crust create a dessert that’s hard to resist.
- Great for Any Occasion: These bars are easy to transport and make a great addition to parties, lunches, or picnics.
Make These Cherry Pie Bars Today!
Transform your favorite pie into a handheld treat with this easy cherry pie bar recipe. They’re simple to prepare, bursting with flavor, and guaranteed to be a crowd-pleaser. Bake a batch today and let us know how they turned out in the comments below. Enjoy!